Last Summer, we decided to begin the project of turning an old storage space at our church into the ultimate gaming loft for tweens. The goal being to create a space for kids in the community where they can not only feel a sense of belonging but forge friendships and have fun. I am so excited to finally be able to reveal the before and after photos and share my process for how to design the ultimate gaming loft for tweens!
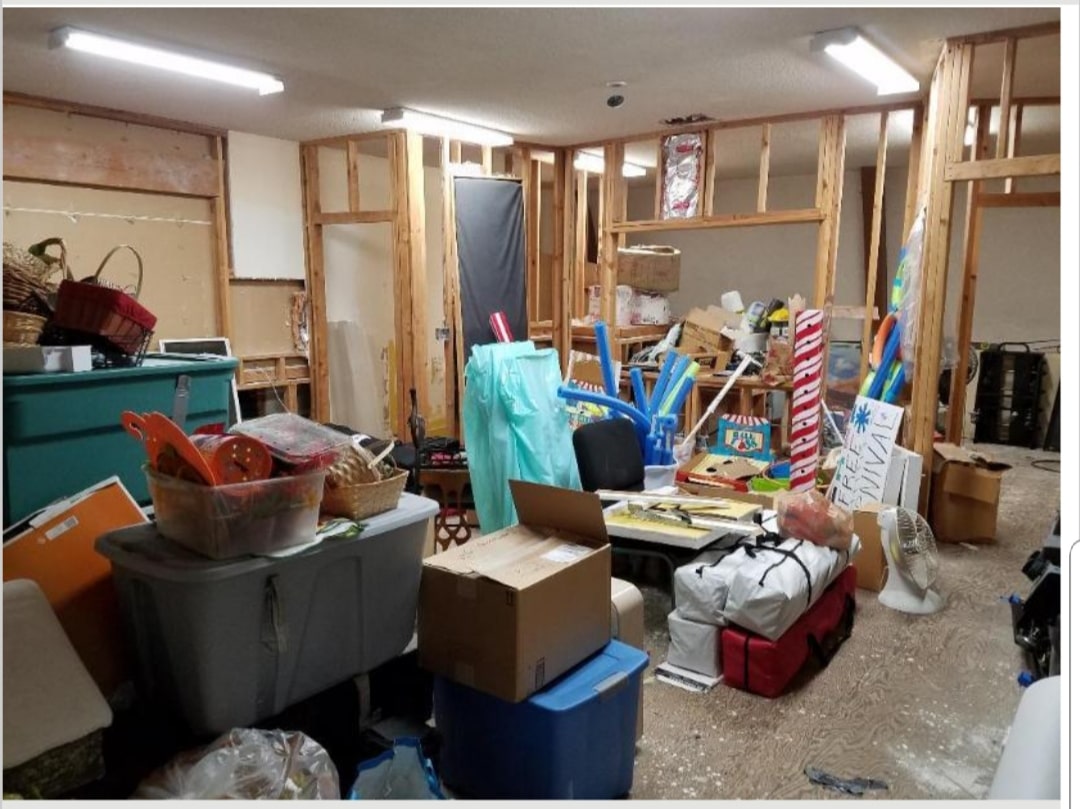
Before
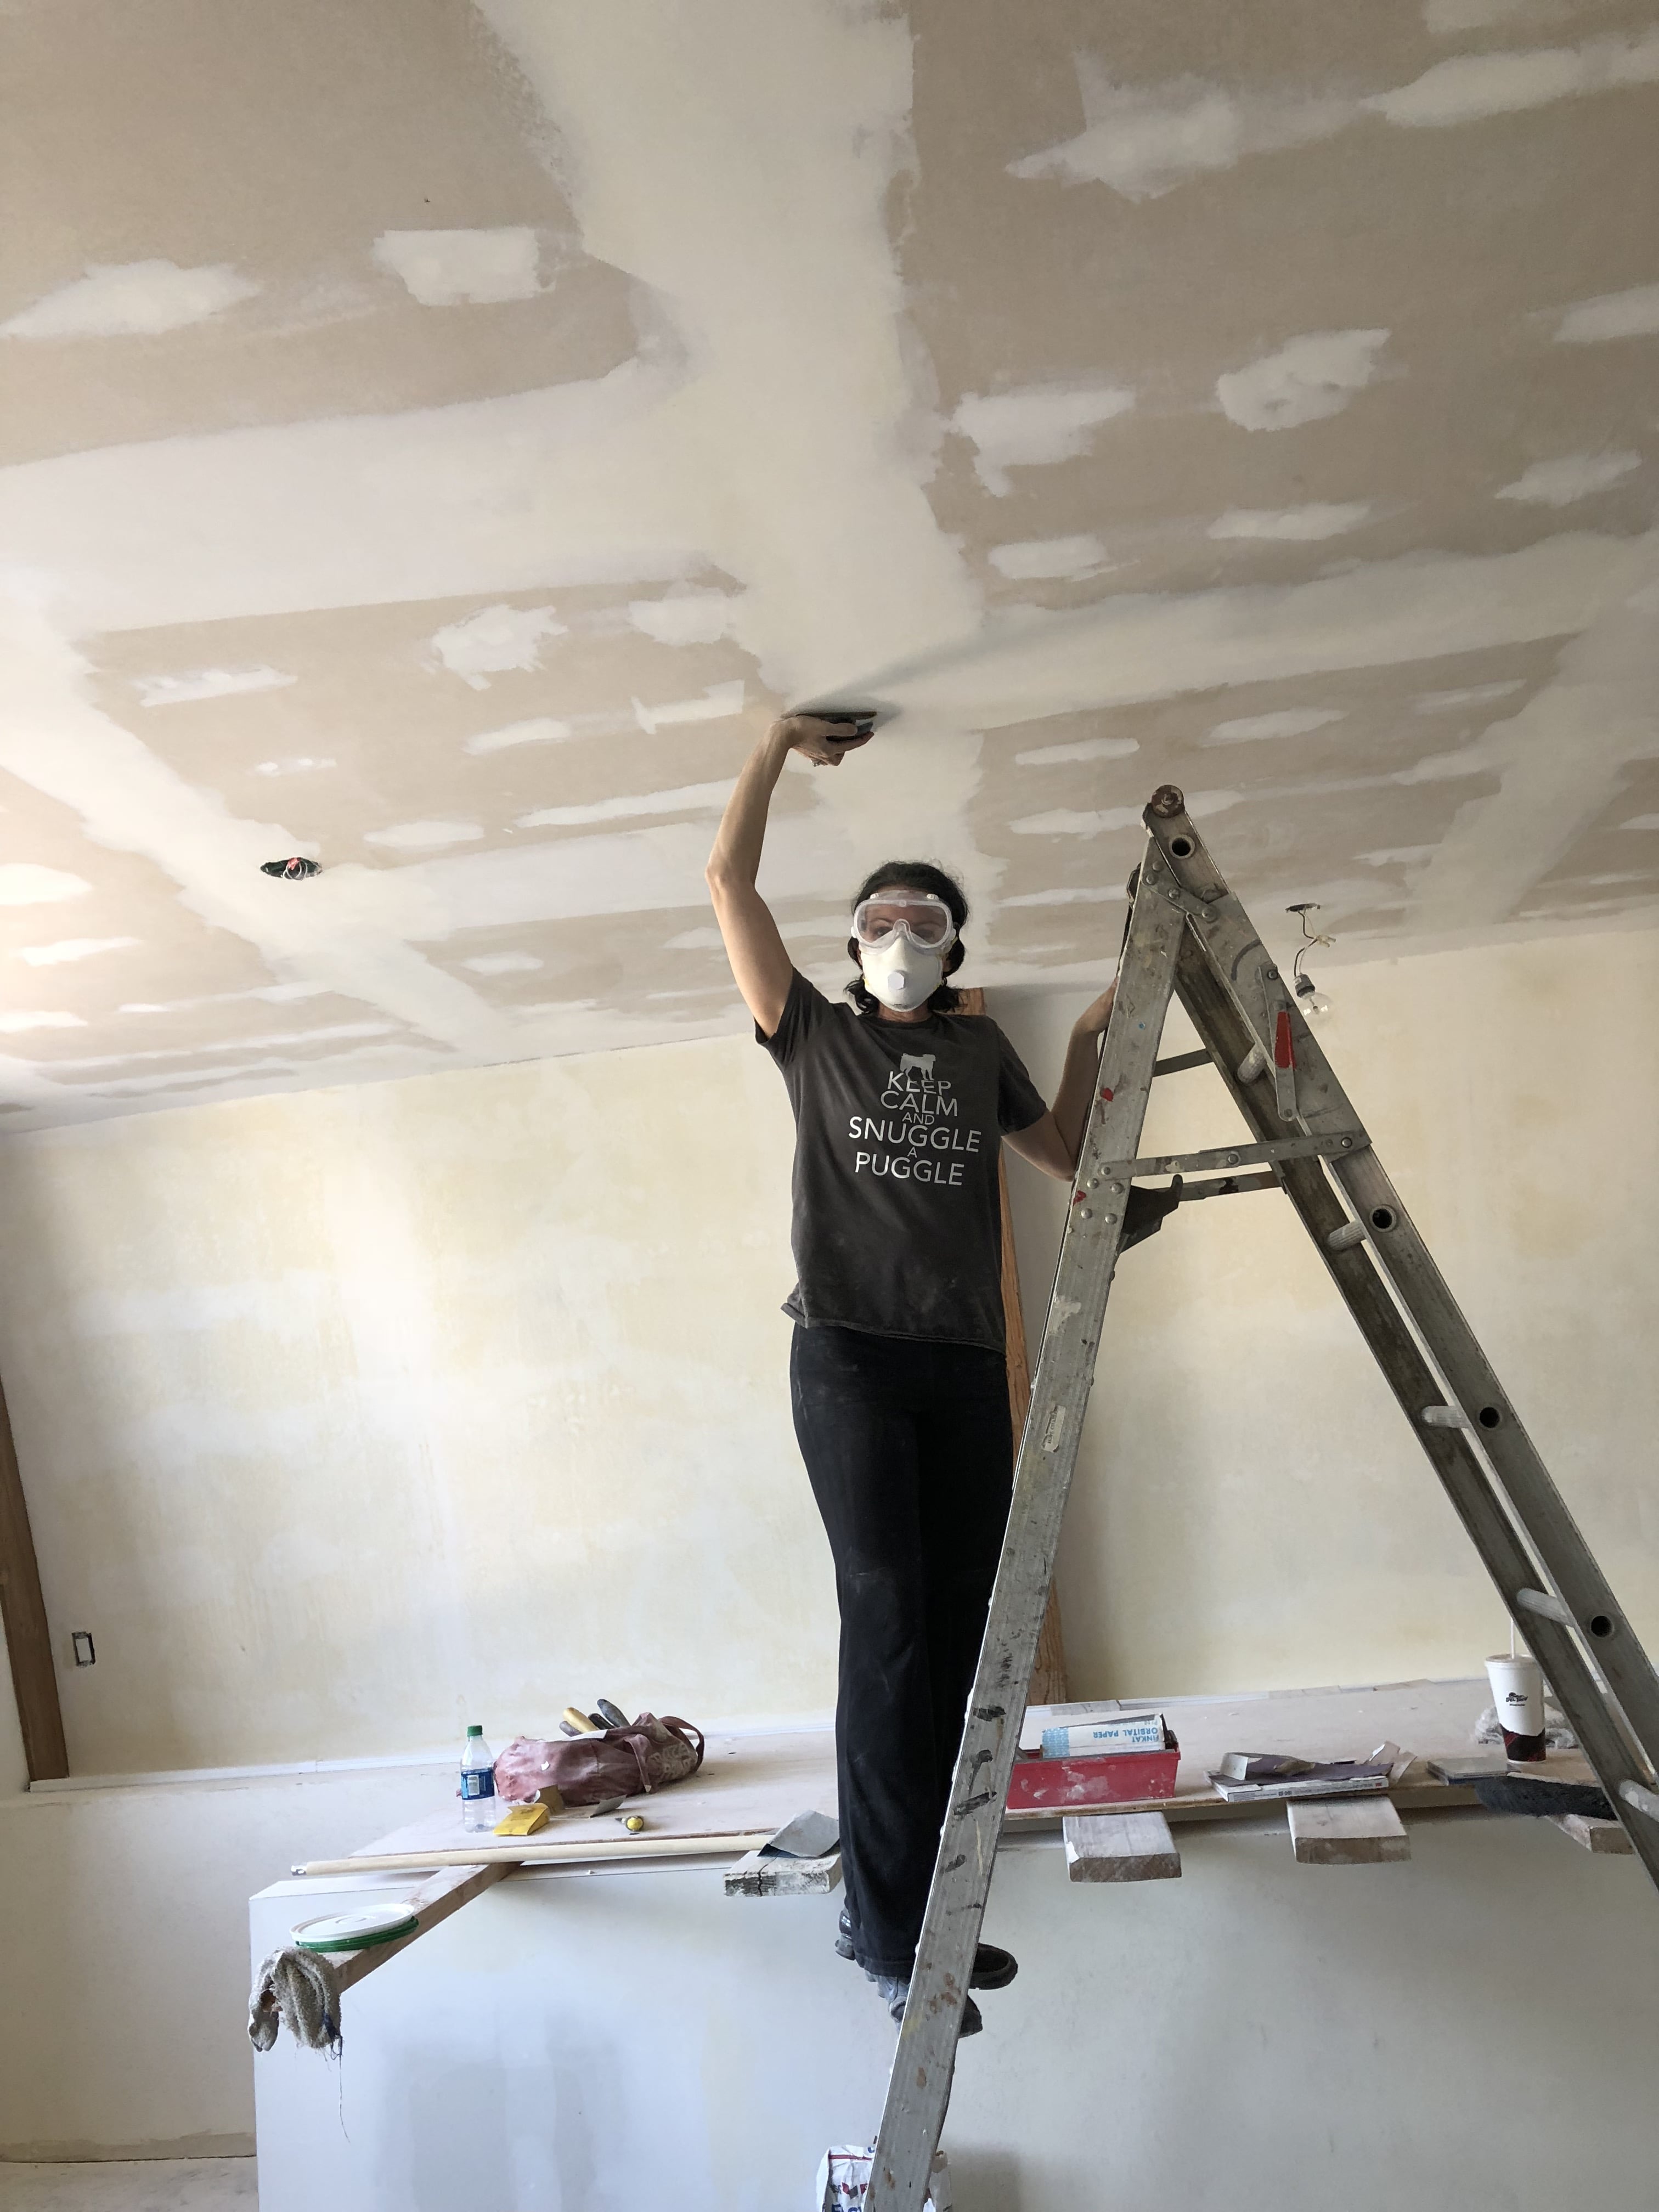
This was what the space looked like last 4th of July when I embarked on the design project.
ISSUES
No walls
No doors
Florescent lighting
Popcorn ceiling
Unfinished flooring
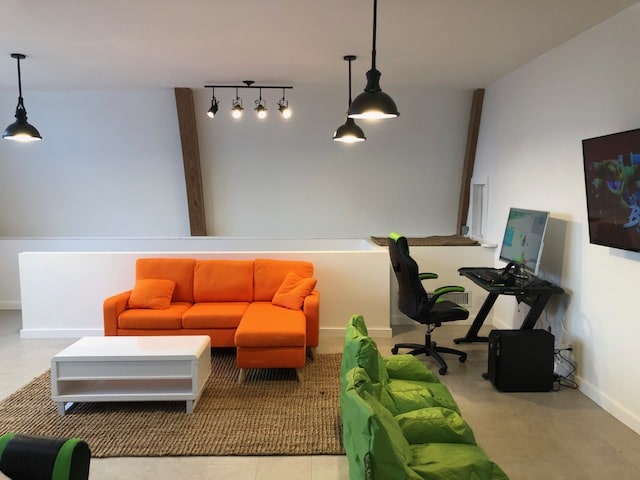
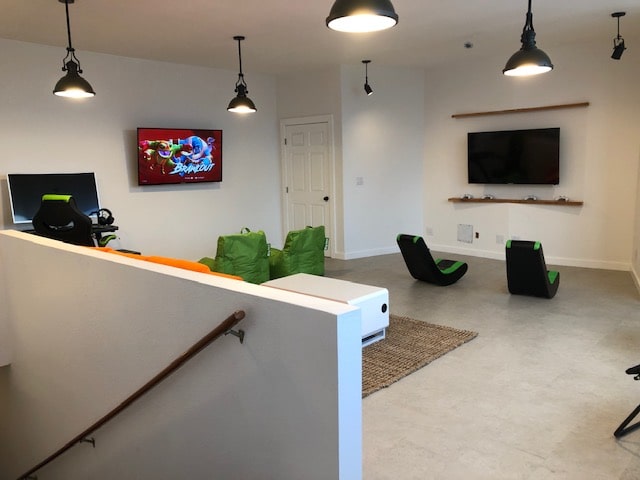
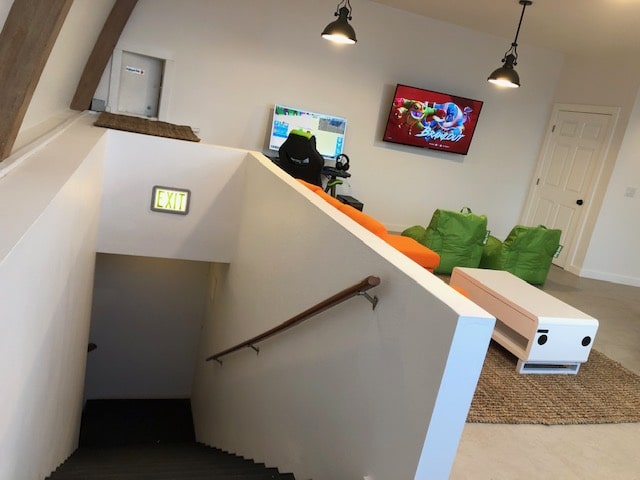
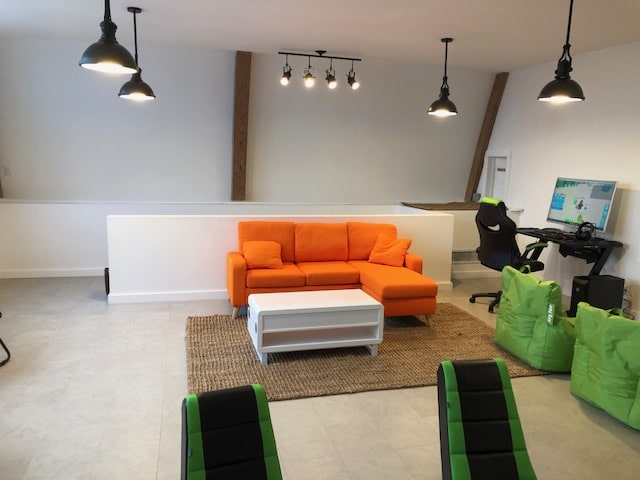
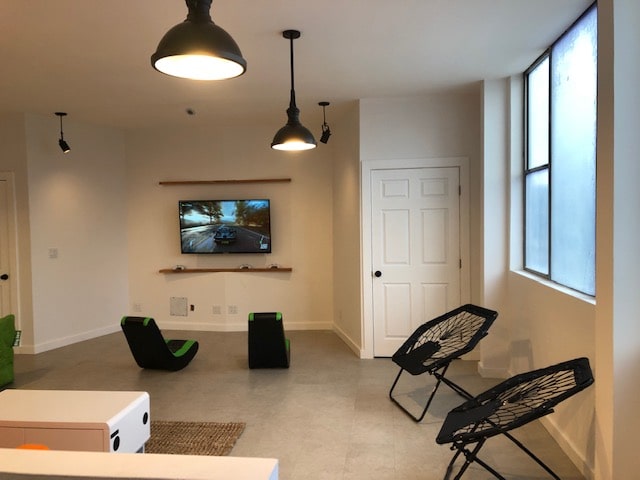
After
It took 6 months to complete but everyone was super happy with the results.
Highlights
Clean walls
Lockable doors
Industrial pendant lighting
Smooth ceiling
Luxury Vinyl Tile flooring
Materials
To recreate this look, here are some of the materials I used.
Sources
Paint: Dunn Edwards Cool December
Lighting: BeautifulHalo.com
Bluetooth Coffee Table: Overstock.com
Tile: Metroflor Savanna Tile in Chalk
Rug: Overstock.com
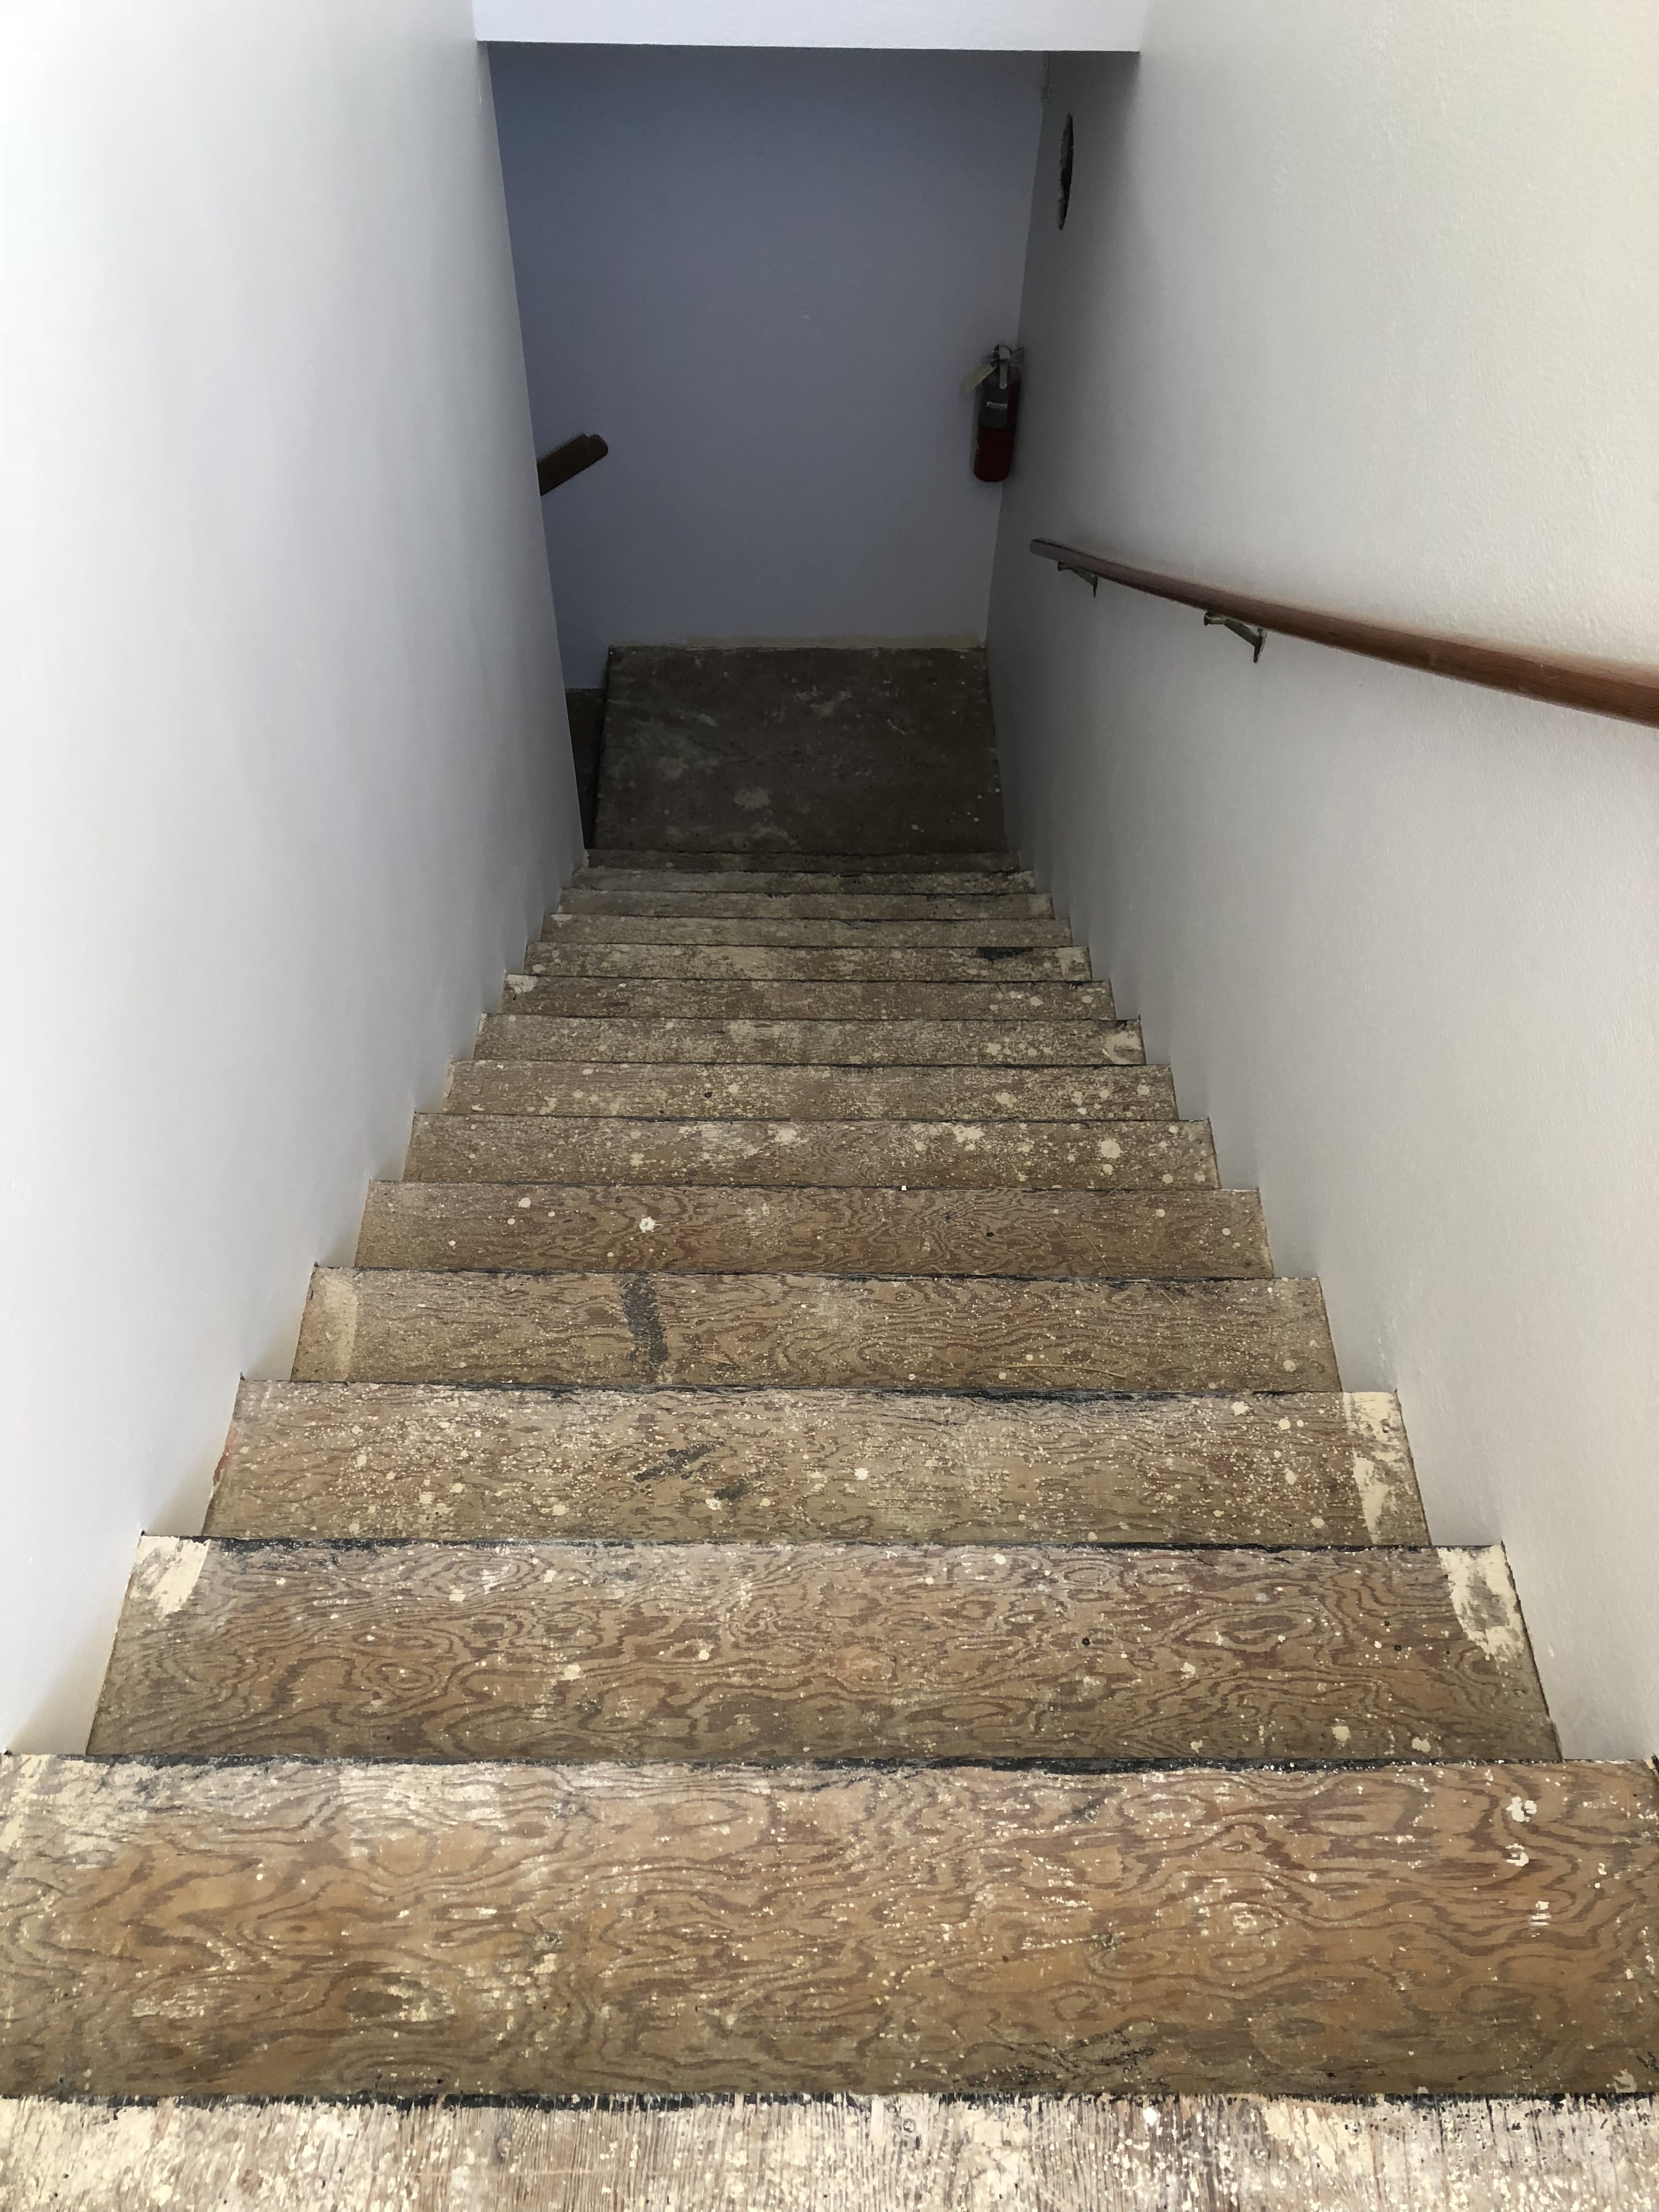
Before
The stairwell was previously covered with green carpeting which we ripped up thinking we would need to install pergo or tile on the stairs.
ISSUES
Unfinished stairs
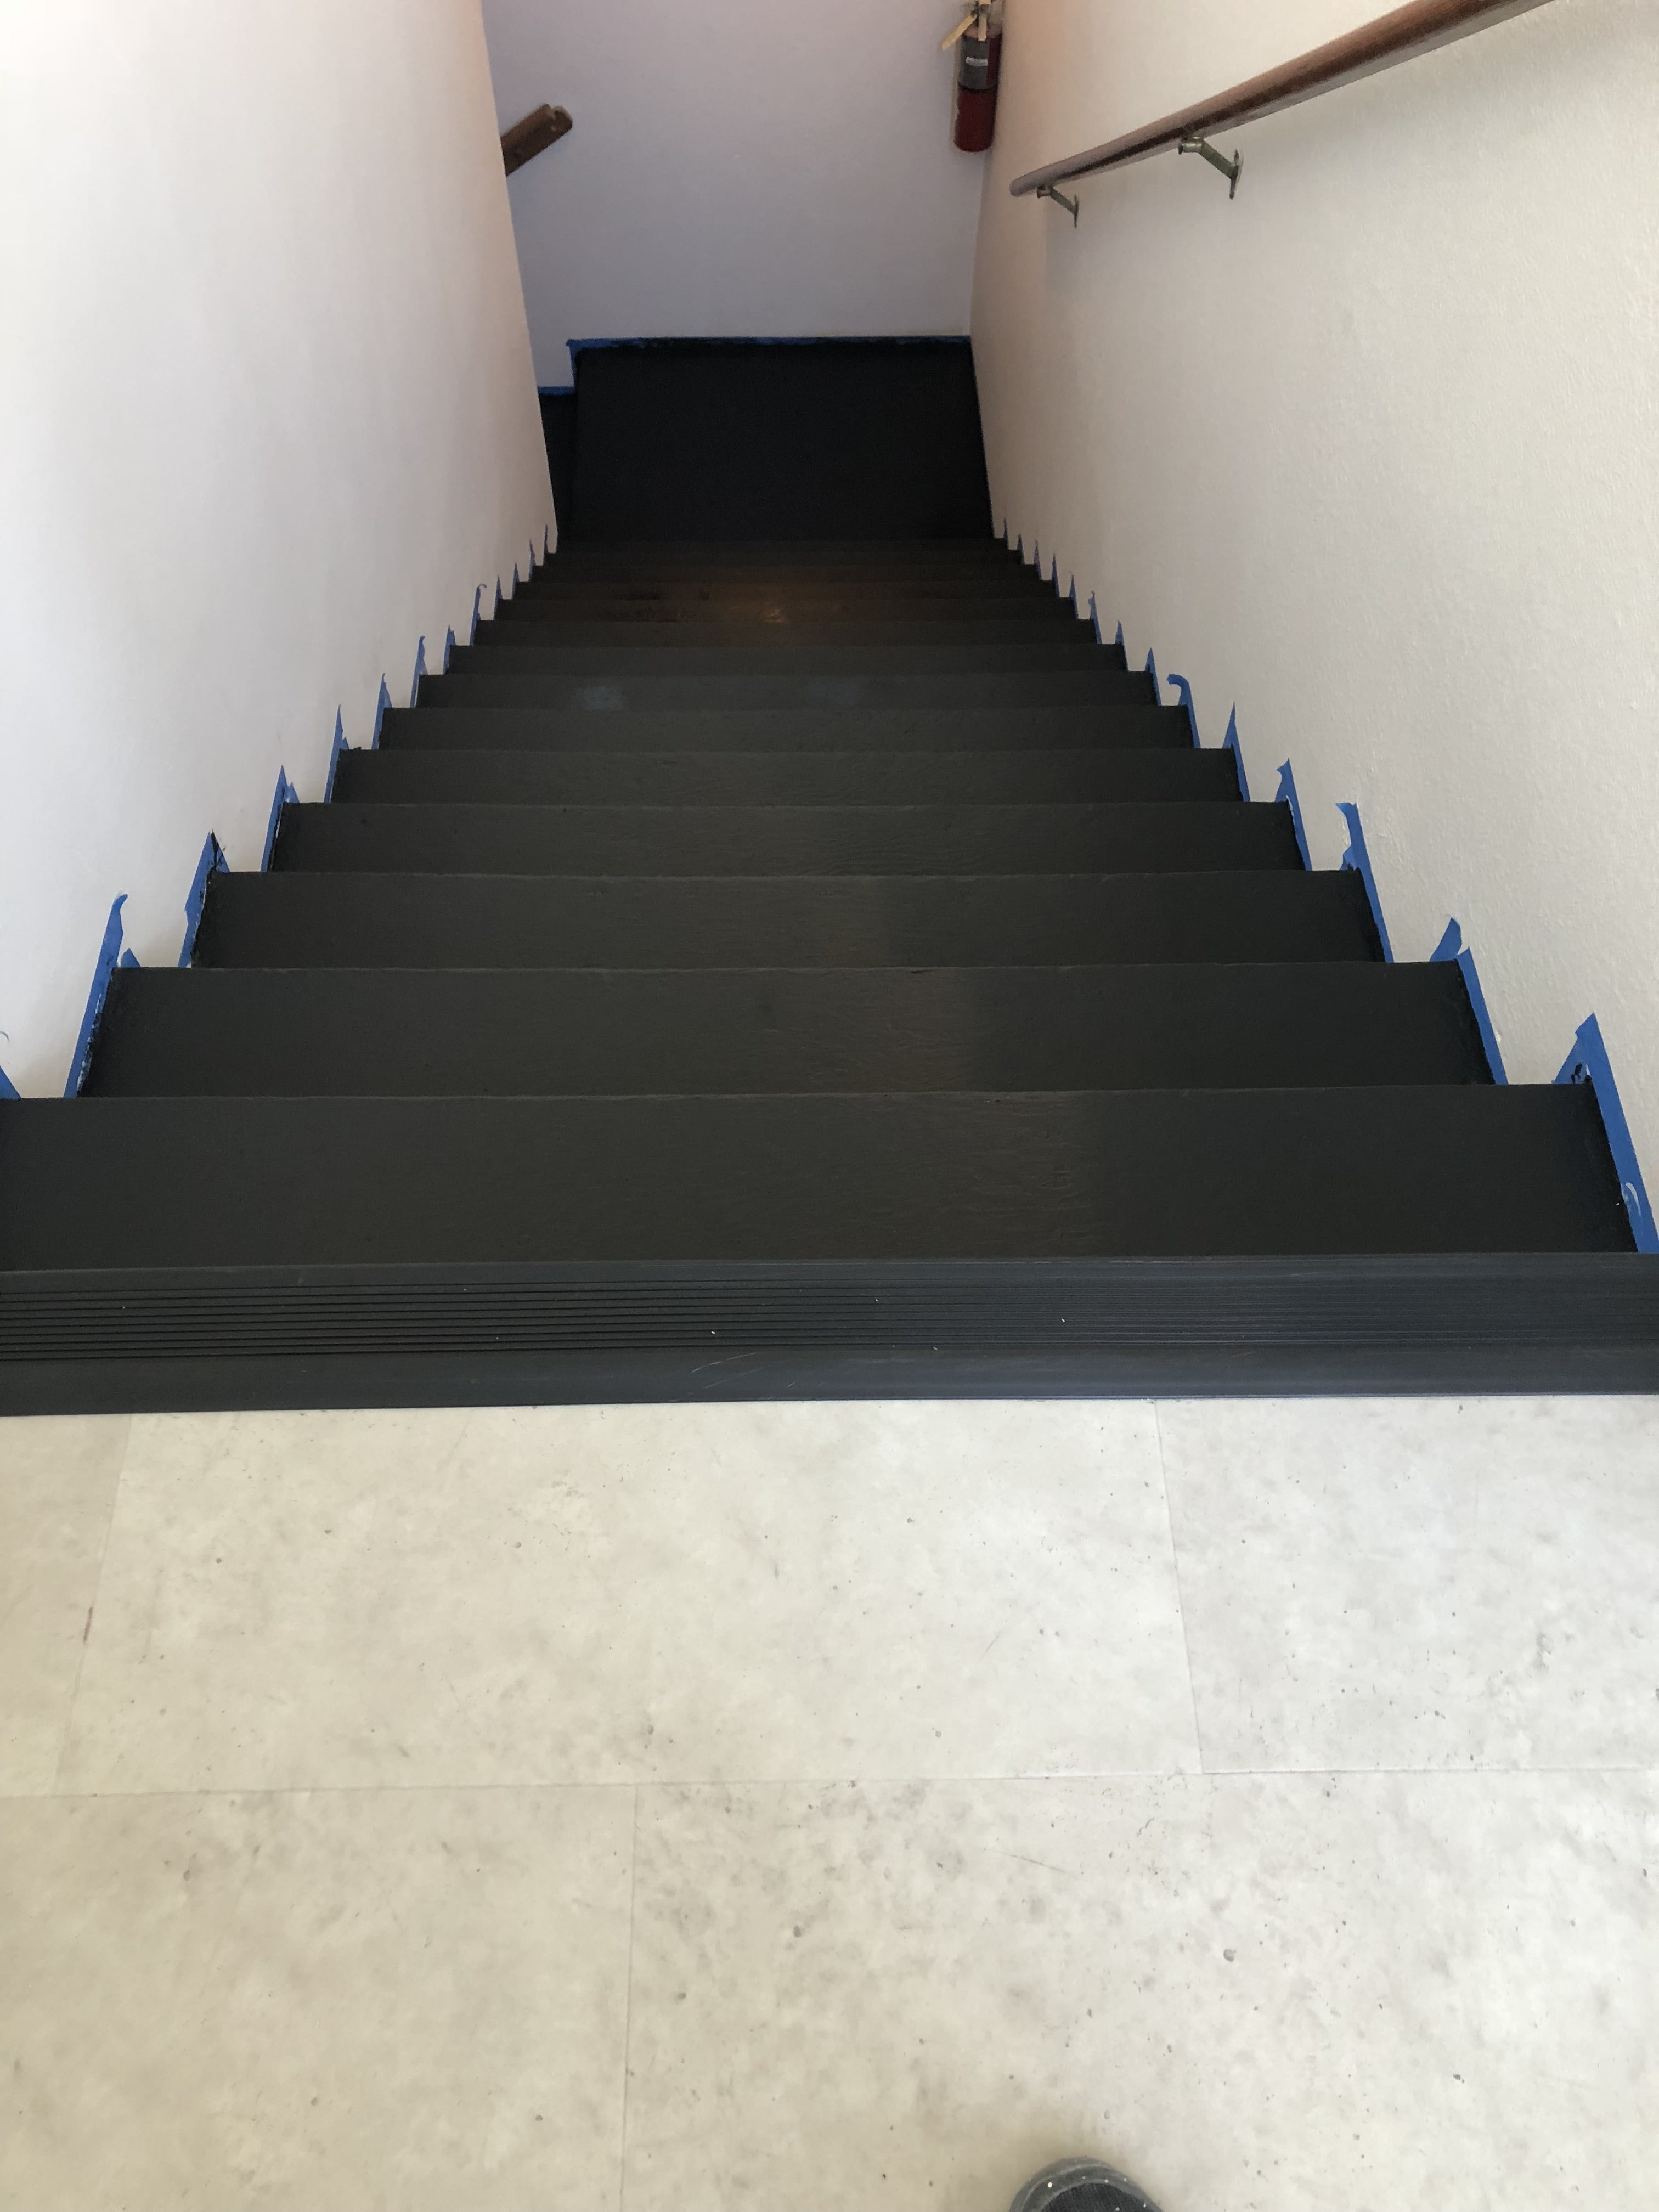
After
We decided we could solve the problem simply by sanding the stairs, prepping them and painting them with porch paint.
Highlights
Black painted stairs
Materials
To recreate this look, here are some of the materials I used.
Sources
Paint: Behr Black Porch Paint
The Design Process
How to Design the Ultimate Gaming Loft for Tweens
Step 1: Find Your Inspiration
Step 1: Find Your Inspiration
Your first step in designing the ultimate gaming room for tweens is to cobble together all of the ideas you can find and determine what you ultimately want the room to look like. This becomes your vision for the room.
Fix that vision in your mind and keep that inspiration photo handy because you will need to reference it time and time again when making decisions throughout the renovation project.
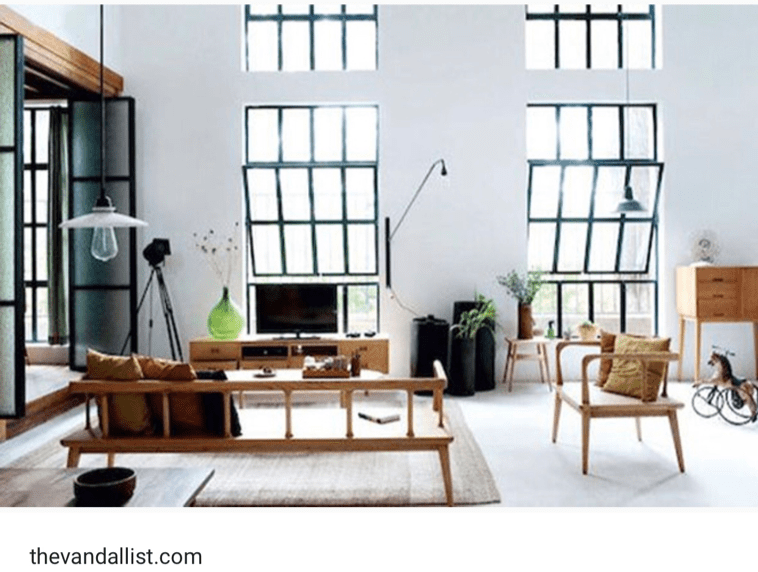
My vision was for the space to have a creative, industrial feel so I started with searching for images of “creative industrial spaces”.
Below is my inspiration photo for this project. This is the photo that kept me focused when I started seeing other ideas that threatened to take me off course from my original vision.
Step 2: Measure Your Space & Choose Gaming Stations
We knew we wanted to have three gaming stations. An Xbox, a Nintendo Switch and a PC gaming station for creating a Youtube gaming channel. Measuring the space was key because we needed to make sure that we had enough room to accommodate all three stations.
Measuring the space beforehand allowed me to see where we would have enough room for each station to live. It will also help you in subsequent steps of the process, such as figuring out the amount of flooring material needed for step 6, and determining the size of furniture your space can accommodate for step 8.
Deciding on the gaming stations you want early on is also a good idea for when it comes to installing power sources in step 4.
Step 3: Determine Your Budget
Meeting with a contractor is the ideal way to figuring out a realistic budget because the majority of remodel costs are spent on labor, not materials. I met with a contractor early on to get a scope of what the project would cost for everything from removing the popcorn ceiling, putting up drywall, stripping the paint off the wood beams, wiring the electrical and installing the flooring and windows.
The estimate was way more than we had to spend but at least I knew what it would take to get the job done before I embarked on the process. Then I could begin trying to see what we could get done ourselves vs. paying contractors and electricians and painters and installers.
My husband scraped the popcorn off the ceiling and I stripped the paint off the beams. Both of us mudded and painted the ceiling and walls, with the help of one of the members of our church who used to run the 2nd largest drywall business in California. So we really only had to hire out the drywall, door framing and electrical labor, most of which was donated to the church, saving us tons of money.
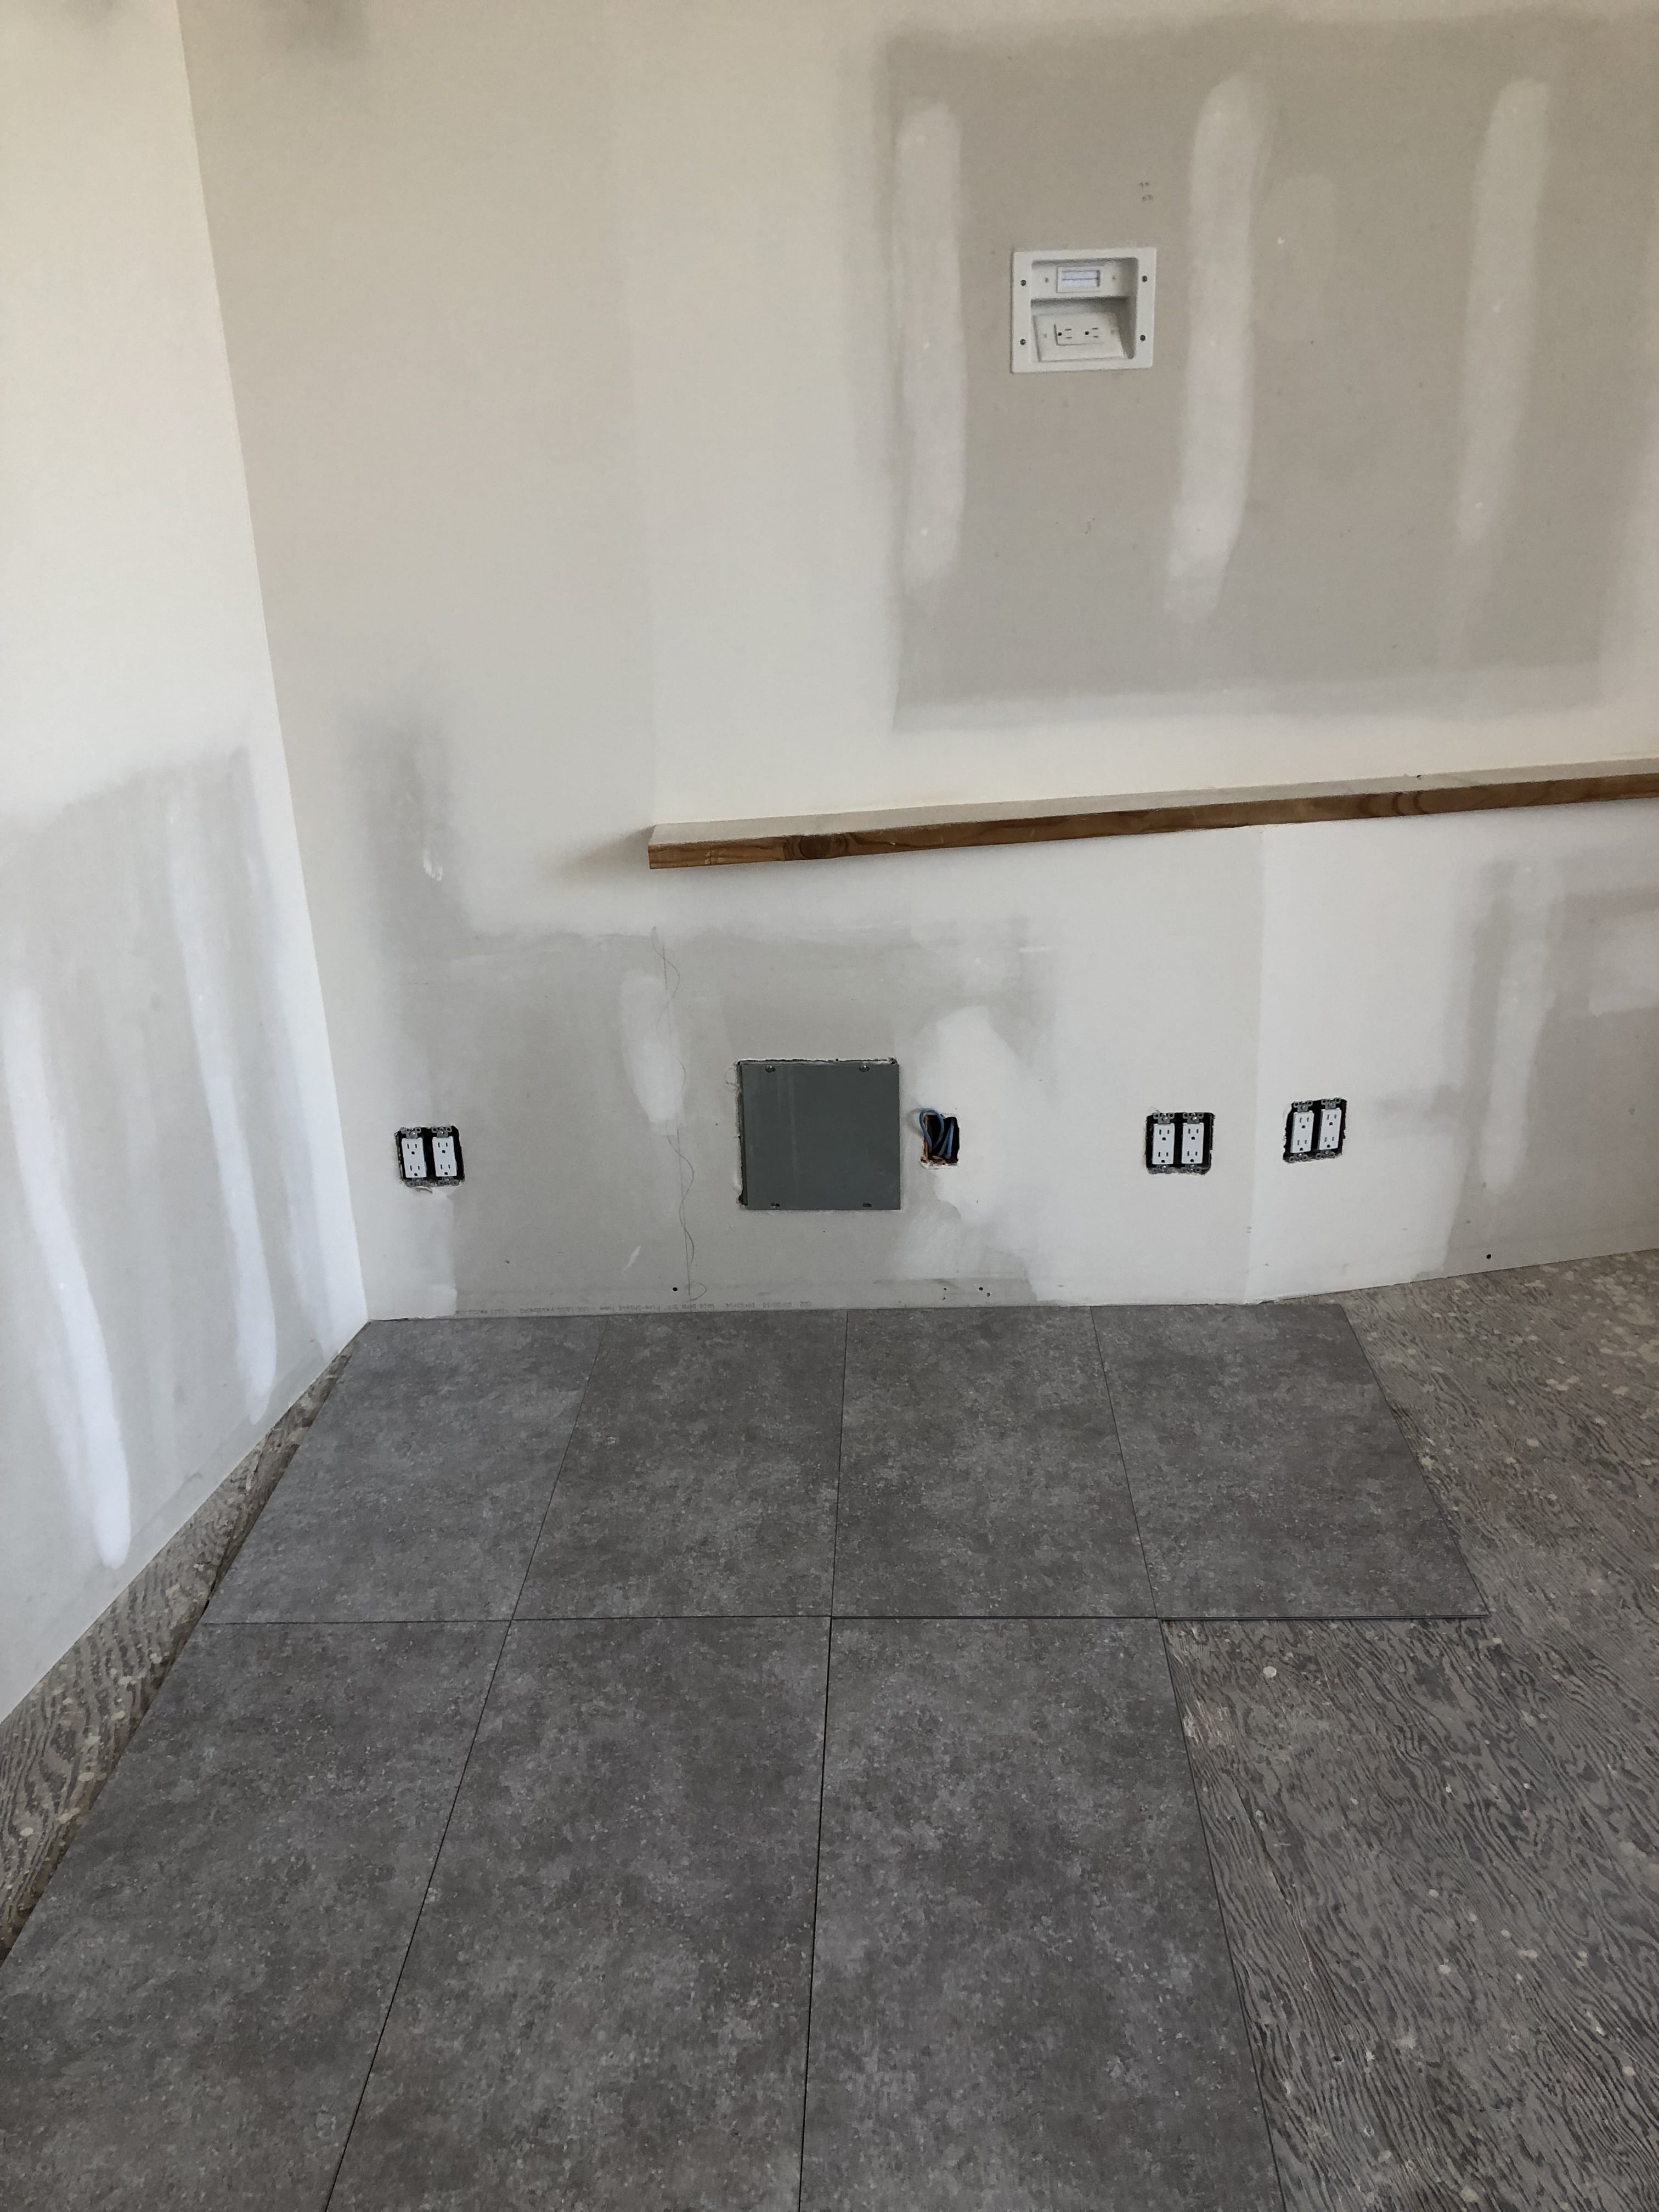
Step 4: Figure Out The Electrical
Everything from outlets to lighting must be thought of in advance so you can have the electrician run the proper wiring before you get your walls and ceiling all finished and looking pretty. We installed outlets in the center of the walls where we wanted the flat screens as well as along the floor. We also purchased surge protectors as an added safety precaution for the heavy electronics.
Once you’ve determined where you want outlets and where you want to install the lighting, it’s time to choose the lighting fixtures. I chose pendant and spotlights to keep with the overall industrial look I wanted to incorporate into the space.
P.S. Ignore the flooring tiles in this photo, these were the first option I tried, but I did not end up going with them because they were not durable enough and they were the wrong color.
Step 5: Choose Your Color Palette
Using your inspo photo as a guide, choose your color palette. Our kids ministry colors are orange, green and black so those served as the accents for the color palette to compliment the white walls and natural wood accents from my inspiration photo.

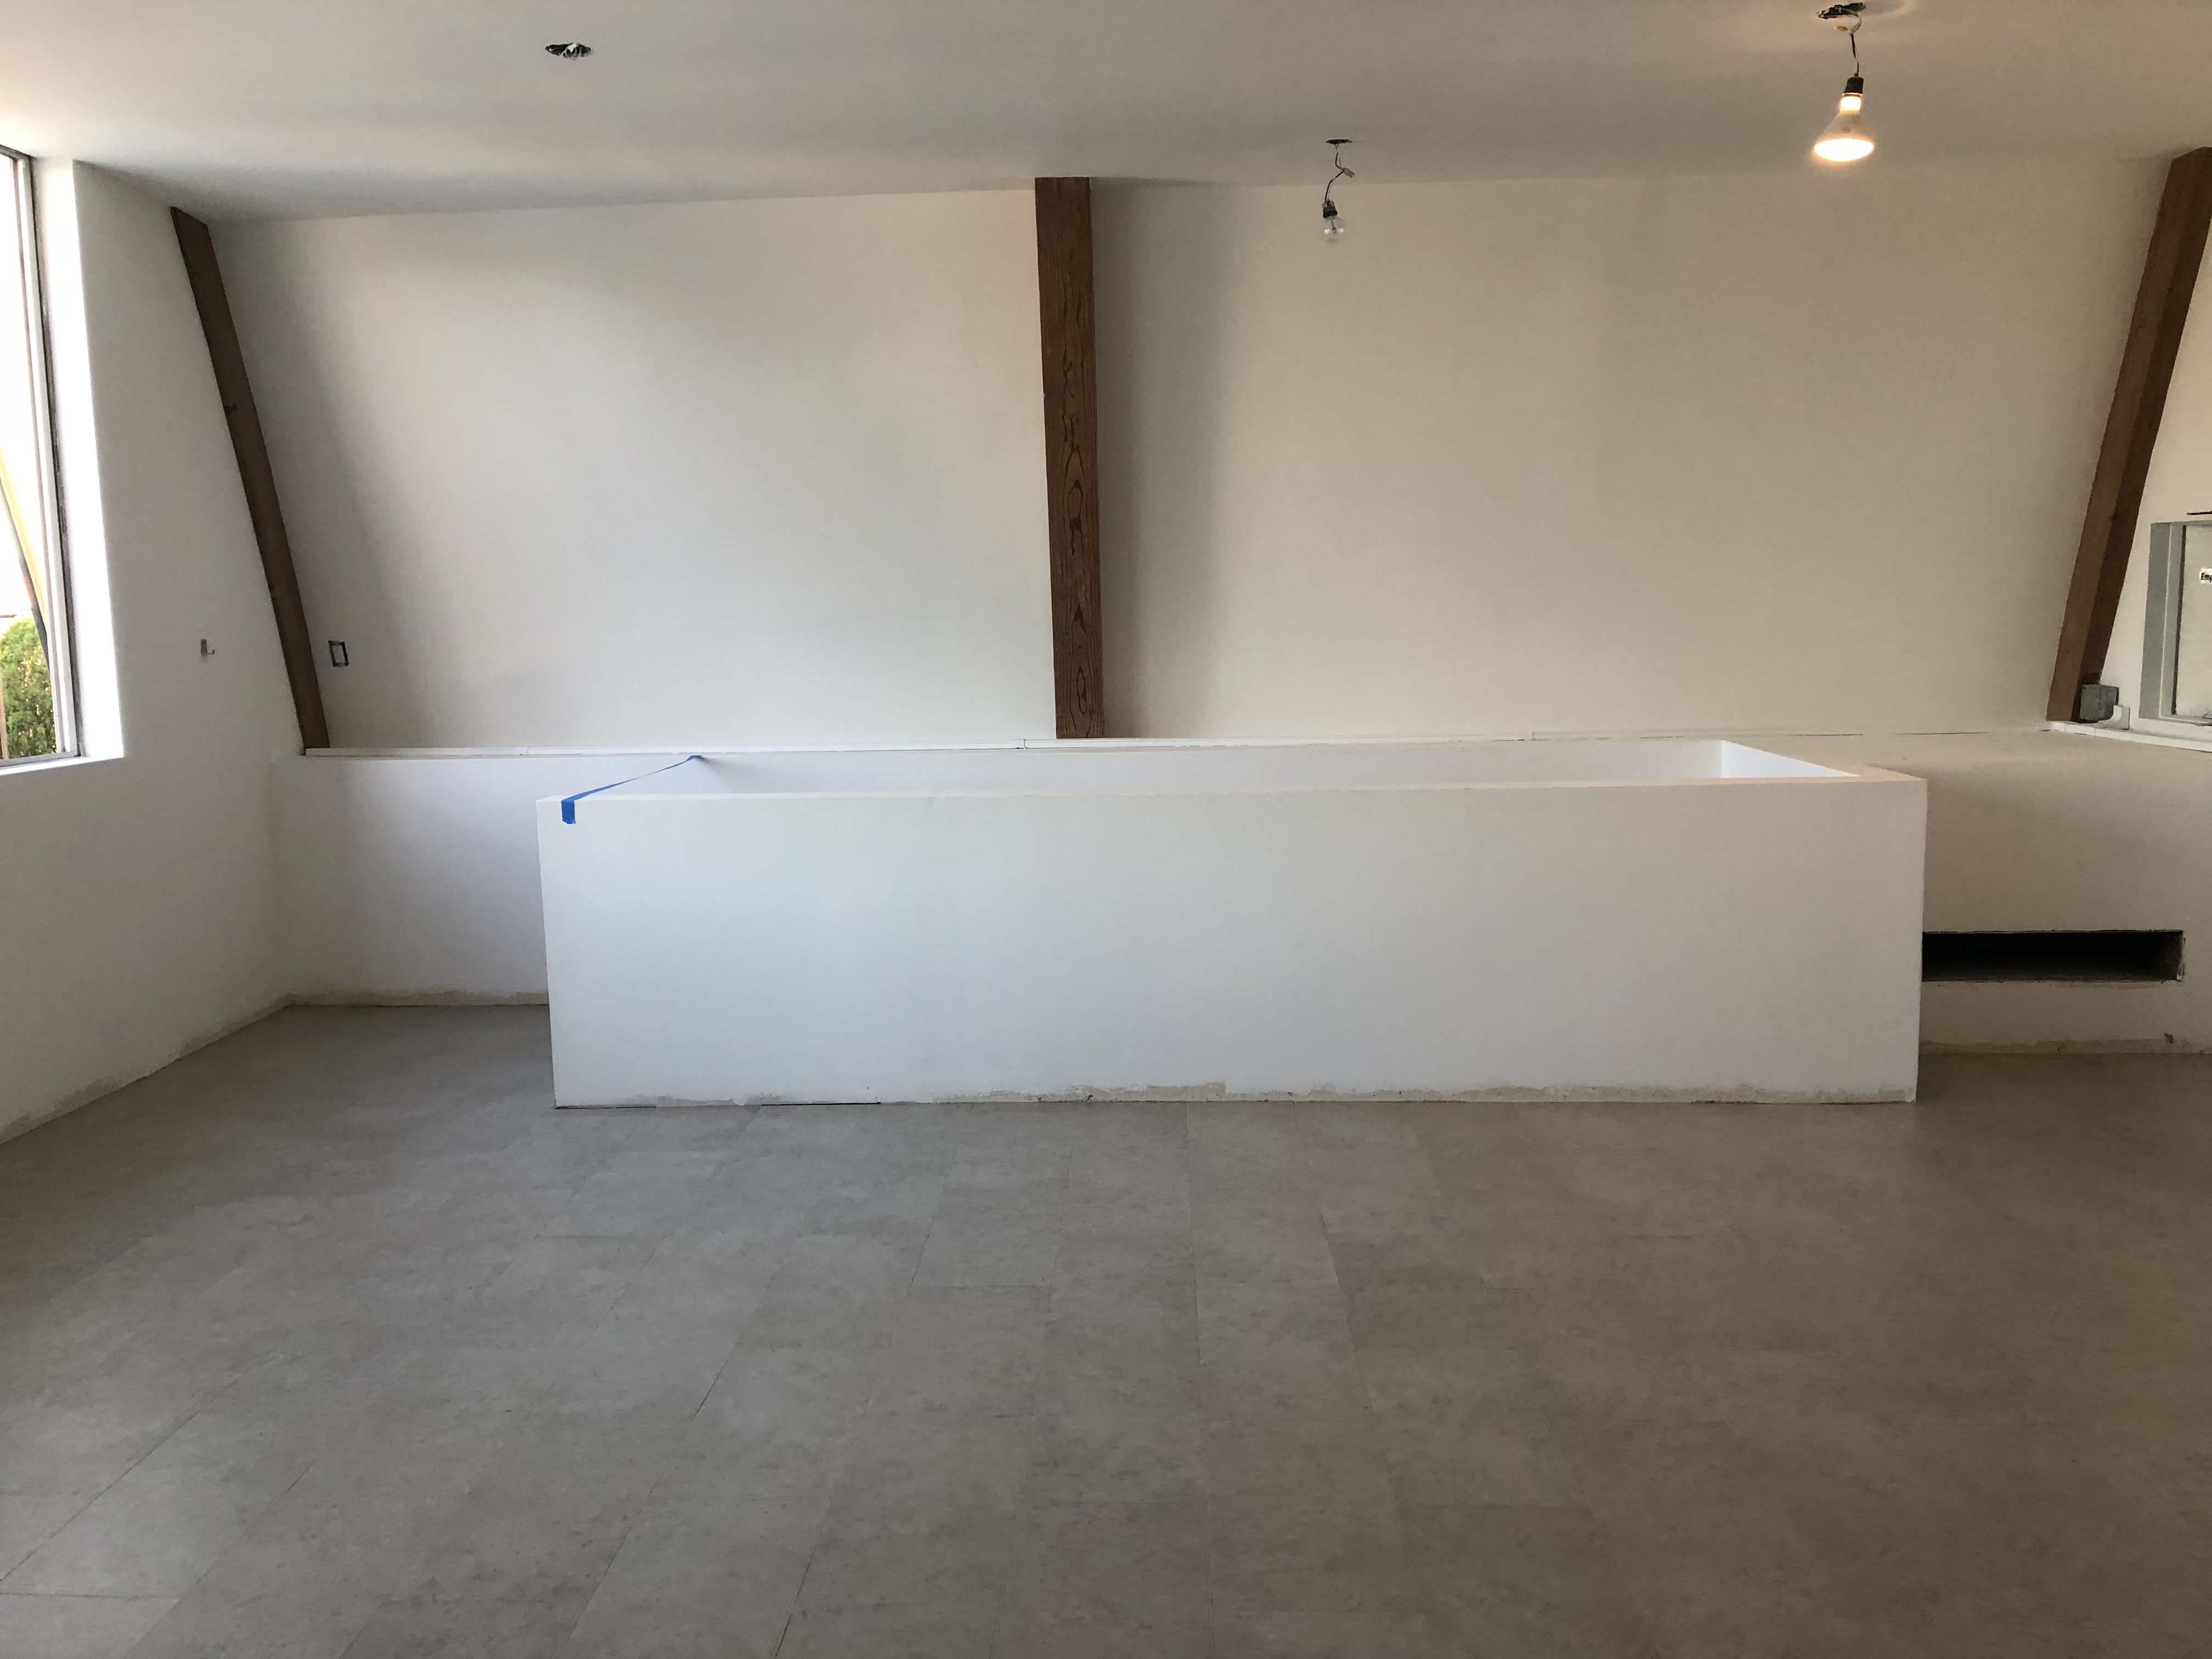
Step 6: Decide on Your Flooring
Again, referencing your inspiration photo is key here. In my case, I knew I wanted the look of light grey concrete flooring, but given that we were renovating a loft, the sheer weight of a concrete floor was not an option. So I tried to find other solutions that fit the vision.
I searched for an alternative luxury vinyl tile that looked like concrete and after multiple trips to my local tile store, finally settled on Metroflor Savanna Tile in "Chalk". It turned out to be both an economical and durable solution that fit perfectly with the vision for the room.
Step 7: Choose Your Gaming Equipment
I would highly recommend seeking out an expert, aka an 11-year-old, to determine the best gaming equipment to include for the ultimate gaming loft for tweens. These days, no one knows gaming equipment better than a kid.
Luckily, my 11-year-old son was instrumental in helping me pick the right equipment. Here are the links to the headset, PC, gaming rocker chairs, gaming chair, & gaming desk he chose.
When it came to the games, we wanted to keep the games rated "E" for everyone, which is very difficult these days with Fortnite being all the rage, but we settled on Roblox, Mario Kart, Zelda, Rocket League and Forza Horizon 4.
We went with 55” Element flat screens (which we scored at a massive discount from Target on Black Friday) and used Hide It Mounts for the Xbox One S and Switch, which we mounted behind the flat screens.
Here are the links to the headset, PC, gaming rocker chairs, gaming chair, & gaming desk.
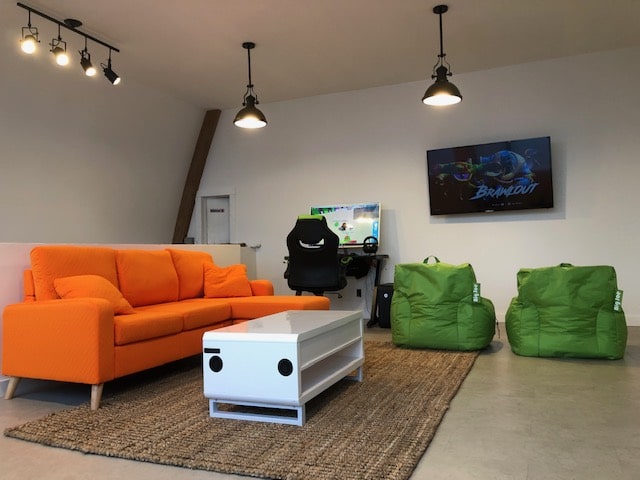
Step 8: Choose Your Furnishings
I really wanted kids to feel like this room was designed just for them, while at the same time leave enough flexibility for the space to potentially be used for meetings down the road.
I wanted it to feel like a creative space, fresh and open for adults while maintaining a fun vibe for kids. To accomplish this, I kept to the same color palette going with a bright orange couch that had a chaise incorporated for adult lounging, lime green bean-bag chairs for gameplay, rocking gaming chairs for xbox, and black bungee chairs for added fun.
For the vibe of the room, I went with this modern white coffee table that offered drawers and a shelf for game storage equipped along with blue tooth speakers that pair with any phone to broadcast the playlist of your choice.
Lastly, I tied the space together with an 8x10 sisal rug and matching runner for the crawl space that leads to the sanctuary, for when we need to jump up there to adjust the lights in our sanctuary.
We chose not to go into debt for this project so we made the renovations as God provided the money and labor along the way. We are still waiting on the windows. So I will update this post when those beautiful black beauties get completed. Thank you for reading!
3 Design Phases
This project was a labor of love and was such a joy to see it come to completion. When planning your ultimate gaming loft for tweens, here's a recap of the three phases for execution. I would love to hear your thoughts on what elements make for a great gaming room design. Message me at lisa@honeyandfigs.com or leave a comment in the box below.
XO
![]()
Vision
Start by settling on the over-arching idea for the space in your mind. Look for photos to inspire you and aid in bringing what you imagine to life.
Construction
Enlist the help of experts where necessary (i.e. contractors & electricians) and assess which portions of the renovation you can do yourself.
Decor
Choose a color palette based on your vision and extend that to the paint, flooring and furnishings you choose.